
Through the years weLaika invested resources in order to specialize in the development of mobile applications, in Android and iOS ecosystems. The Android platform is definitely easier if you want to start programming in the mobile sector because it doesn’t force you have any specific operating system and the reference language, Java, is very well known in other sectors. The opportunities for developers in this market are large and that’s why this is the first post of a series that will explain how to develop from scratch a real app for Android, in particular a map of the fountains of your city. To start, make sure you have the latest version of the Java Developer Kit (JDK) installed (at least 1.6): You can check if you installed correctly by running the command in the console
1
javac -version
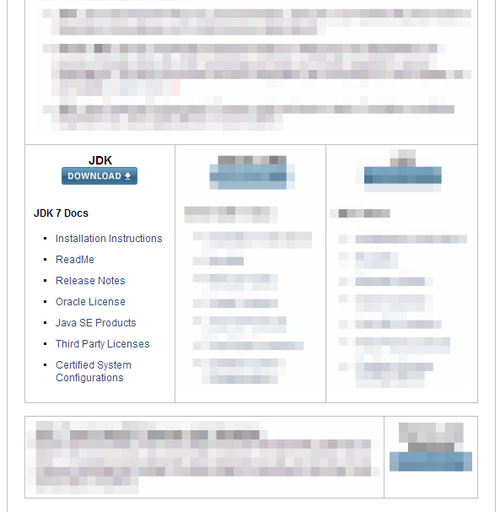
If you have not yet installed it or you have an old version, you can download it at http://www.oracle.com/technetwork/java/javase/downloads/index.html depending on your operating system; you must have at least the 1.6 version (JDK 6) to develop Android applications correctly.
On ubuntu and compatible operating systems, you can run by command-line
1
sudo apt-get install openjdk-7-jdk
If you want the official Oracle version, you need to add a PPA and install it
1
2
3
sudo add-apt-repository ppa:webupd8team/java
sudo apt-get update
sudo apt-get install oracle-jdk7-installer
After installing the JDK, you need to install the IDE, the main software that will help you in all stages of development; even if in these months Google is releasing Android Studio based on IntelliJ, in this tutorial we will use Eclipse because it is stable and on the internet it will be easier to have a full and immediate support in case of problems.
Linux and Mac
For Eclipse you need the Standard version: you can download at http://www.eclipse.org/downloads/. Once you’ve downloaded the correct version for your OS and started it (just run the eclipse executable file), you have to configure your workshop (the folder where Eclipse will put your projects). On Ubuntu, the version on the repository is pretty old, so it’s better to download manually the lastest version from http://www.eclipse.org/downloads/?osType=linux, extract it in the /opt folder and create the link.
1
2
3
sudo mv eclipse-standard-kepler-R-linux-gtk.tar.gz /opt/
cd /opt
sudo tar -xvf eclipse-standard-kepler-R-linux-gtk.tar.gz
And create in the folder /usr/share/applications/ the file eclipse.desktop with the following lines
1
2
3
4
5
6
7
8
9
10
[Desktop Entry]
Name=Eclipse
Type=Application
Exec=/opt/eclipse/eclipse
Terminal=false
Icon=/opt/eclipse/icon.xpm
Comment=Integrated Development Environment
NoDisplay=false
Categories=Development;IDE
Name[en]=eclipse.desktop
Like a big puzzle, some pieces are still missing: you need to install and configure Android SDK and the ADT. The Android SDK is the software development kit for Android itself and it allows you to compile your applications so you can distribute them in that mobile ecosystem. You can get it at http://developer.android.com/sdk/index.html and you have to extract it into a folder. On an Ubuntu operating system, you can alternatively use the PPA to install it automatically: just run in command-line
1
2
3
sudo add-apt-repository ppa:upubuntu-com/devel
sudo apt-get update
sudo apt-get install android-sdk
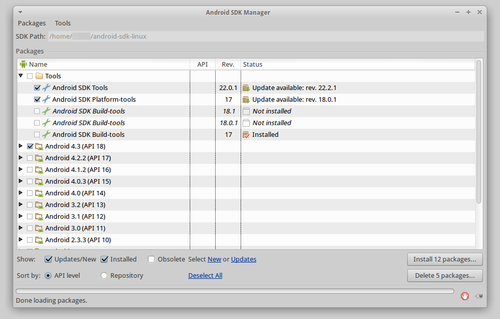
After you have successfully installed the android sdk, you need to install the specific tools to the version of Android: run the android sdk and install the packages that it suggests to have
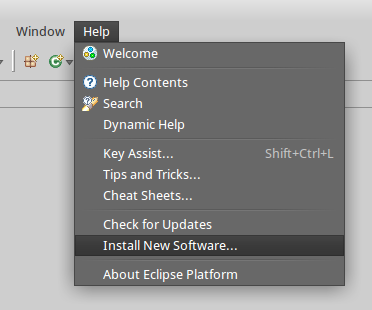
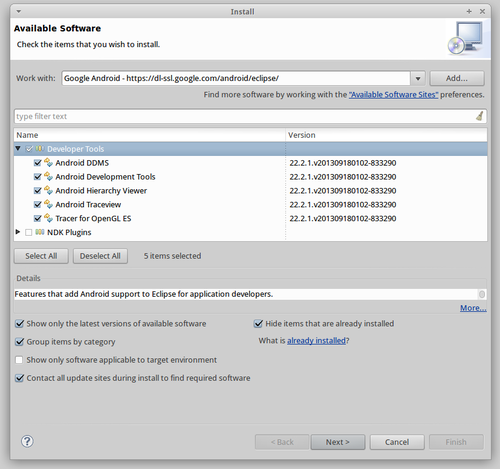
Now you need to install the plugin for Eclipse: in the Eclipse IDE choose “Install New Software…” from the “Help” menu.
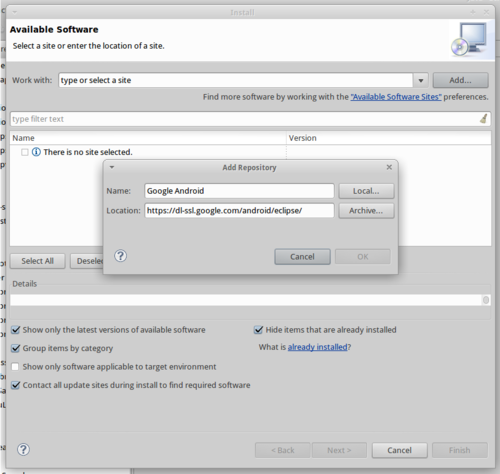
You can add the repository for Android tools for Eclipse clicking on “Add” button and inserting the url https://dl-ssl.google.com/android/eclipse/
Select the tree “Developer Tools” and finish the installation.
The last step involves linking the previously installed sdk and Eclipse: in the preferences, set the right Android SDK path in “SDK Location” (if you installed it in Ubuntu using the PPA, the path is under your home in the “android-sdk-linux” folder, otherwise where you extracted it).
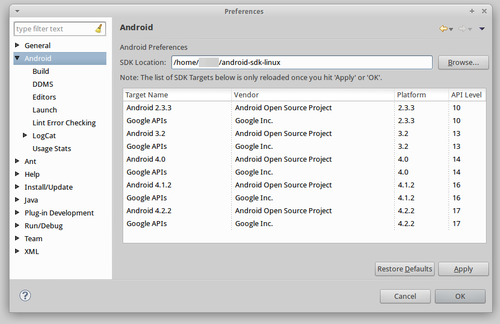
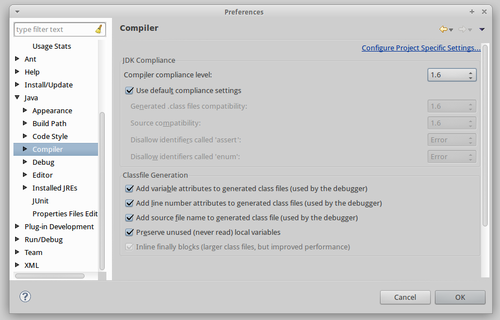
You need also to check in “Java” > “Compiler” that Eclipse will compile using the 1.6 version.
Windows
On Windows, a quick solution is to install the bundle that includes everything you need (Eclipse and the Android components): you can download the package at http://developer.android.com/sdk/index.html
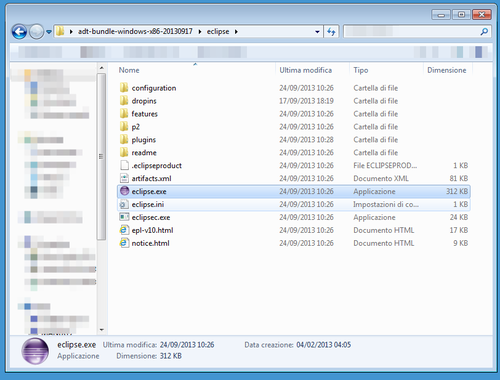
After downloading the bundle package for the version of your operating system, just start the program eclipse.exe present in the eclipse subdirectory.
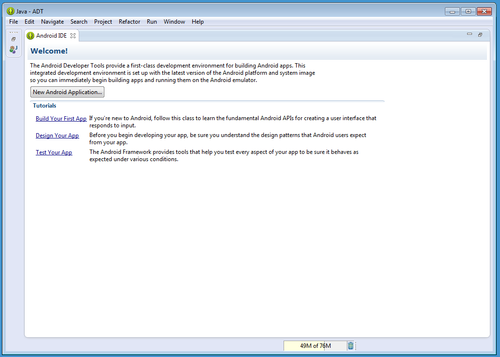
If everything goes well, you should obtain a screen like the next one.
Conclusion
In this first lesson we have prepared the development tools for Android. In the next post there will be a simple explanation to create an app, an useful introduction before starting the development of the app.